
Making a Triple Pen Sleeve!
One of the joys of the leather craft is the steps in taking a piece of leather and making it into something beautiful and useful! For fun, I have a step by step process below of how I put together a recent Triple Pen Sleeve.
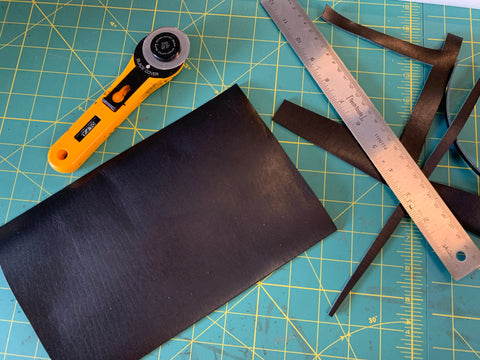
First - I start with quality full grain leather. This sleeve is going to made from black Horween Dublin from Tannery Row. Once I have a big enough piece, I trace out the pattern I need for the two pieces for this project.

Second - I trim down the leather using a straight edge and a rotary knife. There are many different types of blades one can use to cut leather, but for this project I chose a rotary knife. It is easy to use when cutting straight lines.
Third - I cut my bigger piece of leather into two pieces - one will be the front and one will be the back.

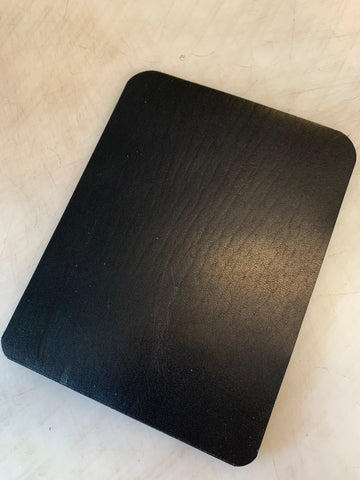
Fourth - Time to round the corners on our pen sleeve. I use corner rounders from Tandy Leather and my Barry King Maul from Rocky Mount Leather.

Fifth - Time to glue the two pieces of leather together. I use a water-based glue called Ever Tac from Springfield leather. It is easy to use, doesn't have an order, and is a snap to clean up.

Sixth - Time to put the two pieces together. One thing I love about Horween Dublin leather is the creative grain that stands out. You can see the marking in the hide that adds such a great character to the piece.
7th - Time to measure out my stitch line! I'll use a wing divider to do the outside edge and then measure for the 3 different pockets.


8th - Time to start punching the wholes for the hand stitching. I use a punch pad from District Leather, my Barry King maul, and 4.0mm pricking irons from Crimson Hide. Once it is finished, it is ready for stitching!

